Sometimes you need to organise your items into groups consisting of members from different boxes. For example, you might need to see all of the antibiotics at a glance, or all of the analgesics. Tags make this easy.
How to use tags
Create tags
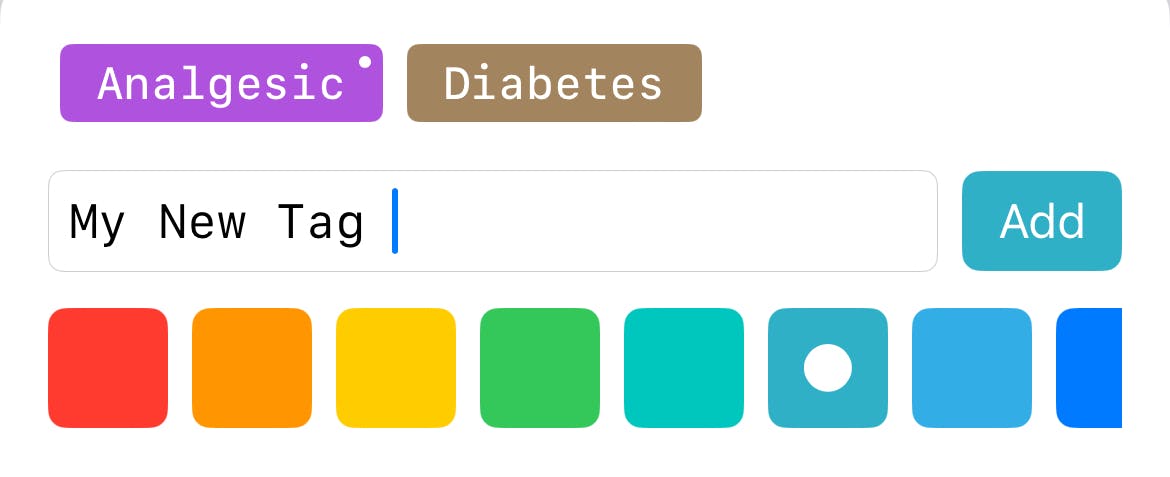
Tags are created by tapping on Tags on the settings tab. Type the name of your tag and select a colour before tapping Add.
Add tags to items

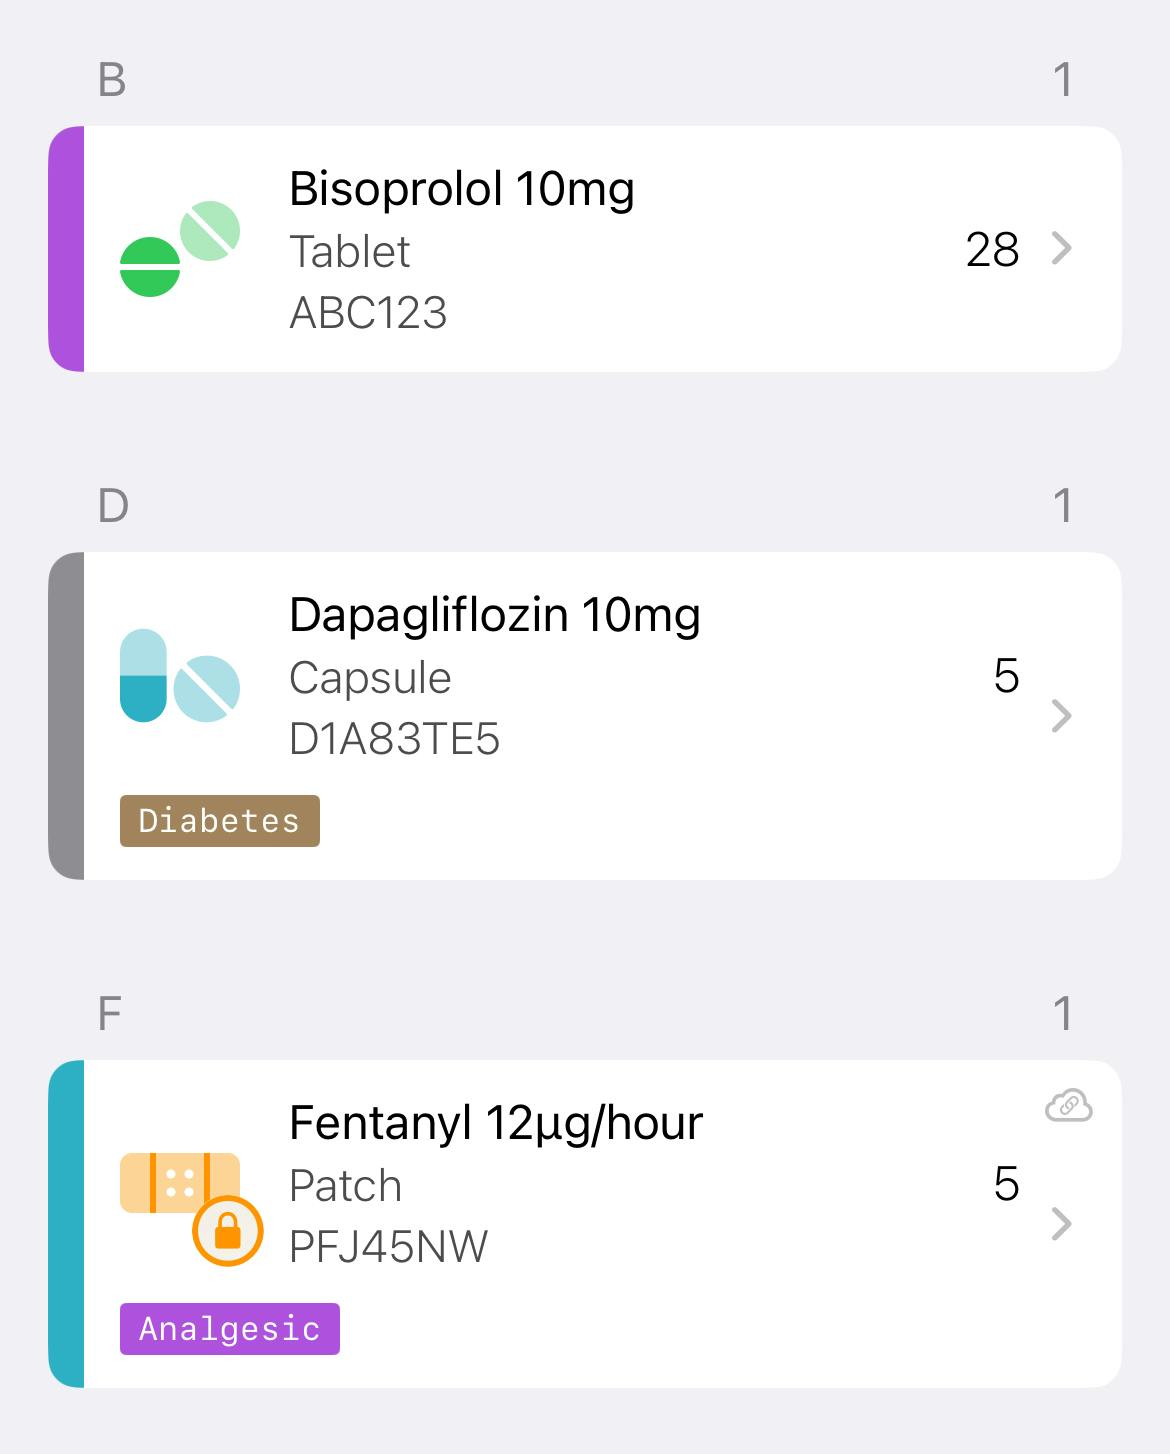
To add a tag to an item, tap Edit Tags on the item editing page. Select the tags you need from the popup and they will appear in the items tag list. Long press on a tag to remove it.

If you have selected the comprehensive list row style, you will see tags displayed below an item's details. If preferred, this can be switched off in settings.
Search with tags

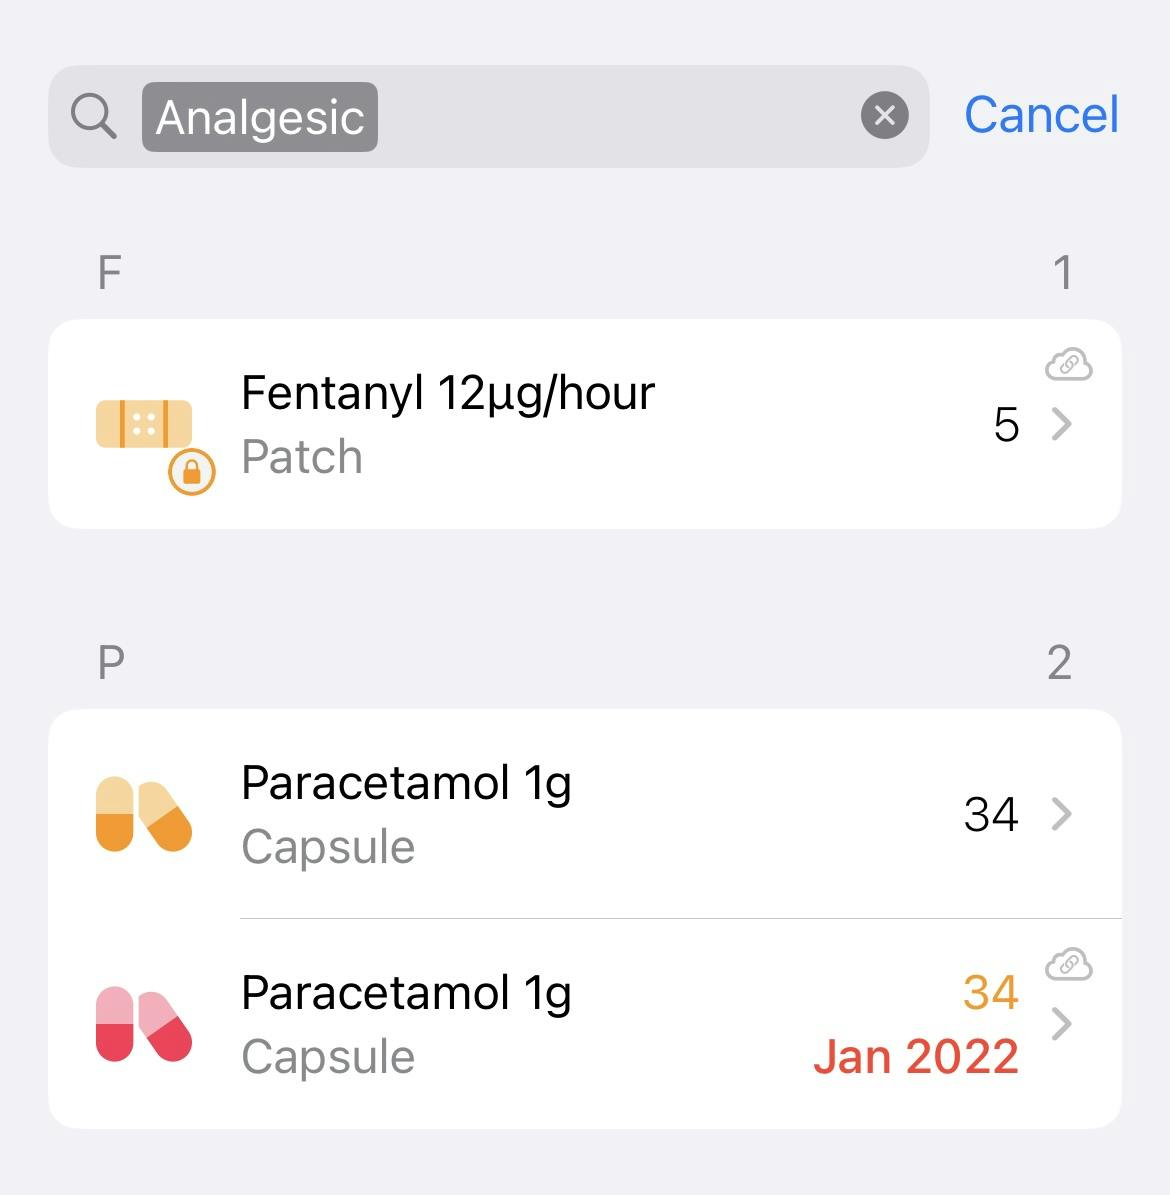
When in a list view, you can filter by a tag when you tap on the search bar. Select a tag from the dropdown and the list will display only those items that use that tag. You can then search with text as normal from this subset.

There are lots of ways to use tags, depending on how you structure your inventory. You can designate certain families of drugs, the names of suppliers or stock that needs to be audited or replaced quickly.
Hopefully tags will be helpful, but how you use them is up to you!
